AppRoot
So the most obvious thing to start with are “views” in Swift. I had seriously no clue where to begin with. But I had AI to ask for help, and help it did.
So I gave my ideas: I need this and that, separated by …, then a table with x and y.
So my first app being iOS, as you may imagine, available space is not abundant. So you have to think good of what and how you want to display.
In both ports, iOS & macOS, you have basically and “AppRoot”, where the app starts.
In iOS this is rather easy, as basically you present the first view of your app and then build the routes to the various parts of your app.
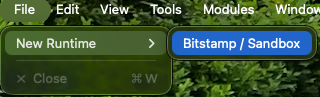
macOS port however is a bit more complicated. In my case I have:
- Settings
- 2 WindowGroup (which spawns runtimes for the various exchanges and if no runtime available gives an intermediate screen neccessary as macOS needs to be able to open 1 window)
- About
This more complex setup makes it necessary that you attach required StateModels into Environment into each of the windows (Settings, WindowGroup..). This makes wiring everything properly together slightly more complicated as in iOS.
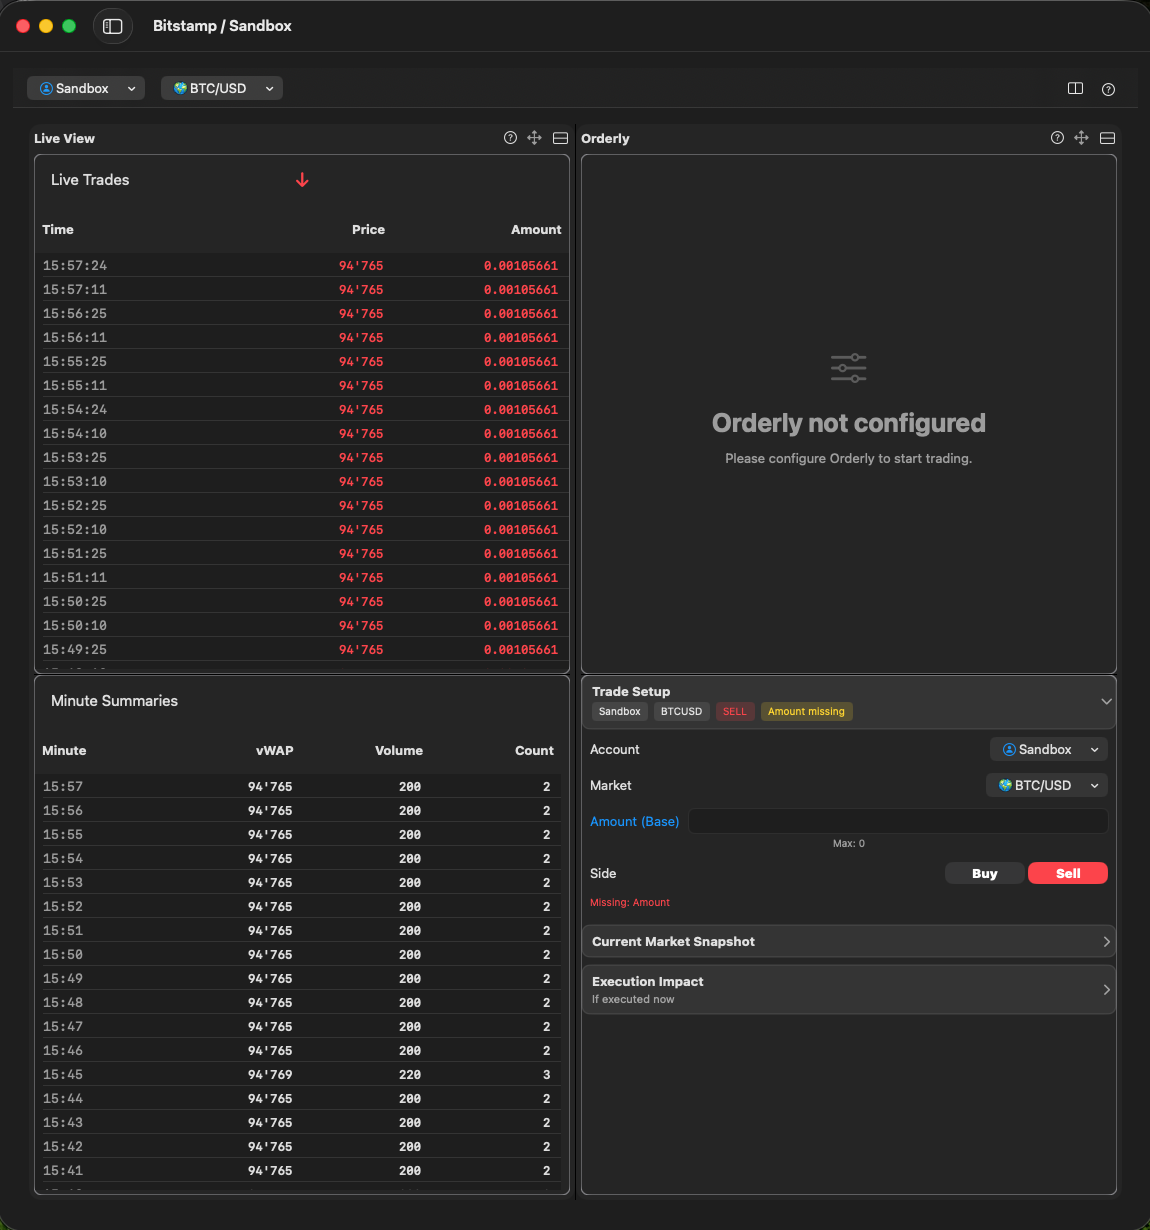
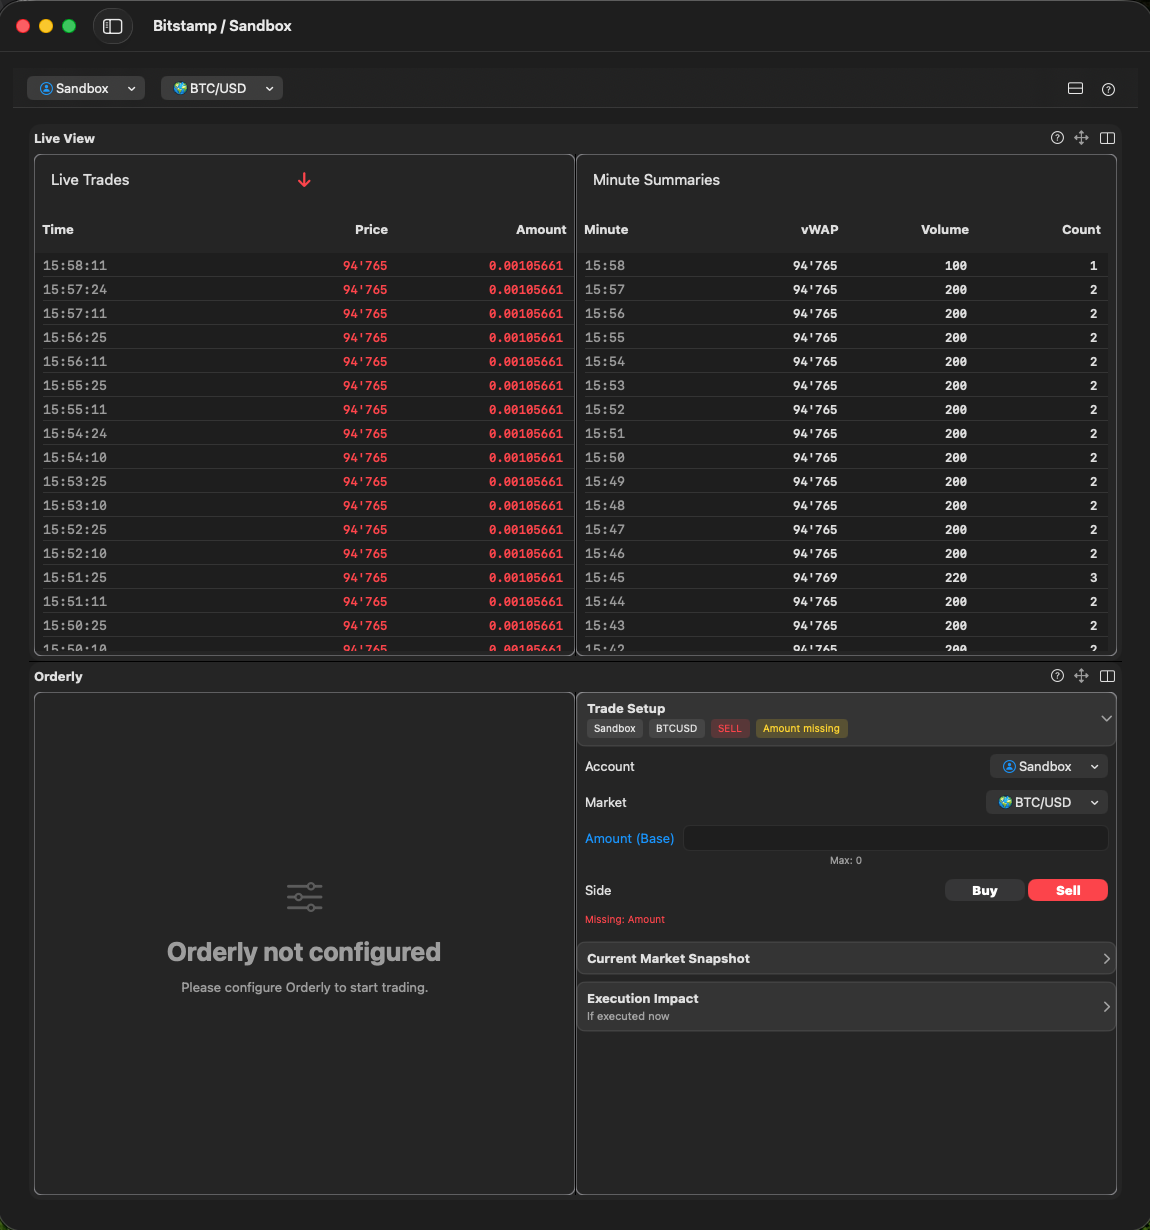
Then within a Container of WindowGroup you’ll start arranging your window. Mine is a NavigationSplitView and the detail is again a HSplitView, such that I have a right side bar to display configuration views or help.
Configuration Panels
iOS Sheets
In iOS you may work with sheets, to present configuration panels or help.
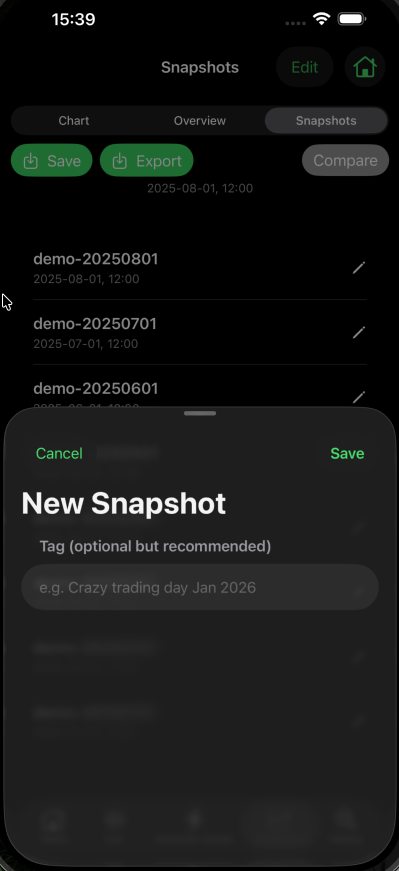
you may control sheet size with
.presentationDetents([.medium, .large])macOS HSplitView / VSplitView
On macOS you may decide to use HSplitview to show like resizable “panels” in order to display Configuration views, or Help
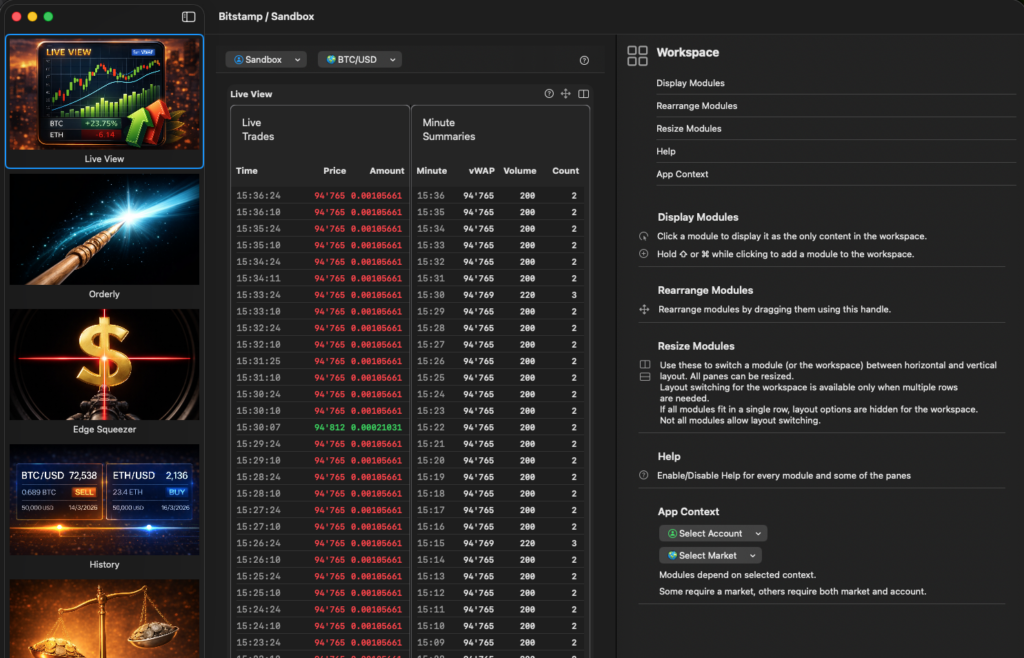
Unfortunately I didn’t know about these H-VSplitView until very deep into the project. A point where I had lost already hours, almost days, figuring out how I could make the workspace more configurable.
Eventually I ended up with a version which lets the user split horizontally or vertically, both on workspace and on module level.
Navigation
iOS .segmented Pickers (Tabs)
On iOS you may use .segmented Pickers to create something like tabs.


macOS Navigation
On macOS you do not really need a navigation in that sense. With the Sidebar from NavigationSplitView I have paths to all my modules, and a little bit more (ie. Help and Refresh runtime). As Settings view is also a child of AppRoot I could just easily inject the StateModels I needed.
Settings
In iOS I made an own kind of “section” for settings. In macOS Settings are handled differently. They have their own window, are called always from the same place.
Help
On iOS I used 2 ways for help:
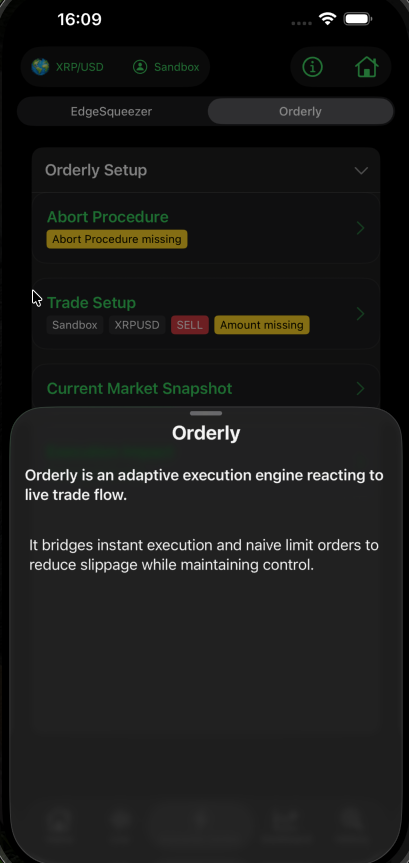
- with an “i” button inside views, but just for quick help
- a complete path to my Handbook on my server
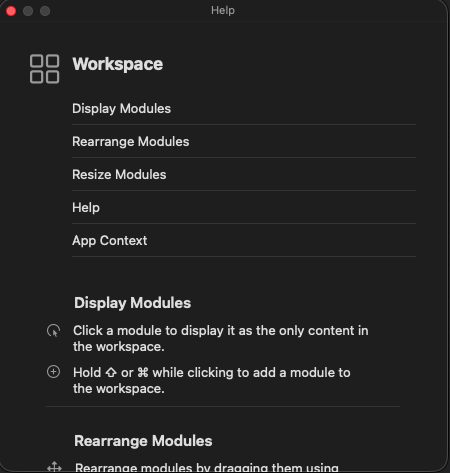
On macOS there’s 3 ways to get help:
- right side bar if right side bar is not reserved by a module already
- floating panel, in case of right side bar is reserved by a module
- a complete path to my Handbook on my server
Alerts
Alerts are handled identical on both systems. Basically by applying a ZStack GlobalBannerOverlay to the Root View. If you need it in Settings and other Windows too, apply the ZStack there too!
ZStack(alignment: .top) {
	ContentView()
	// Banner presenter overlay: AppInfo AppError
	GlobalBannerOverlay()
}
Other Elements
Pickers
On iOS I had, for simplicity to add some “Pickers” to every view needing them: Market & Account Picker. On macOS however I could handle this globally. Pickers are available on the workspace view

Buttons / Toolbars
What on iOS is handled with .toolbar functionality,
I have implemented with “Modul actions” displayed on module view level.

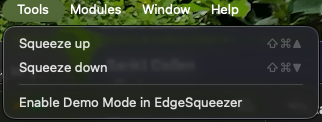
Gestures (iOS only)
For EdgeSqueezer I have invented an own gesture, long tap then swipe, to make sure you do not accidentally squeeze by just tapping a button or so. So the user really needs to intentionally activate a squeeze.
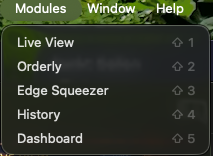
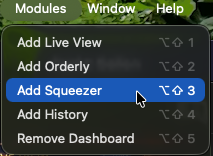
Menus / Shortcuts (macOS only)
On macOS you have menus, short cuts hover and possibly many other features I didn’t even explore.
I have built my own menus and short cuts. And don’t believe chatGPT if he tells you: You cannot simply use a “modifier” to “modify” a menu. Yes, you can
Button("Live View") {
    // normal button function
}
.keyboardShortcut("1", modifiers: [.shift])
.modifierKeyAlternate(.option) {
    let isEnabled = isModuleEnabledAlready()
    Button(isEnabled ? "Remove Live View" : "Add Live View") {
	// modifier button function
    }
}
Attention
In order for menus & keyboard shortcuts to work, the window needs be focused. You may need to add a .focusable() modifier somewhere in the root view.
Instead of passing a bindingValue I propose to bind StateModels
@FocusedBinding(\.workspaceModel) var workspaceModelTips & Tricks
GeometryReader
On macOS a user may resize his windows, stretch, squeeze etc. You may want to adjust some stuff in your layout and/or images. In Orderly a module has a width of 600px. As long as the window width can place all active modules in 1 row, you cannot change layout between vertical and horizontal. The split will always be vertical. As soon as you squeeze the window and not all modules fit in 1 row, you can change layout.
Also side bar images. Some might get unreadable when too small, just us another image which has less small details for smaller sizes.

StateModels vs. @State variables
As soon as you have more than 1 @State variable you need to bind to other views: don’t do it. Use StateModels you can inject and consume via @Environment. If you do use @State variables and Bind them to other views you’ll soon be in refactoring hell, cause you need in every call to make sure that you actually have those variables.
I ended up defining most StateModels at AppRoot so I could inject them into Menus, Side bars and Settings eventually.
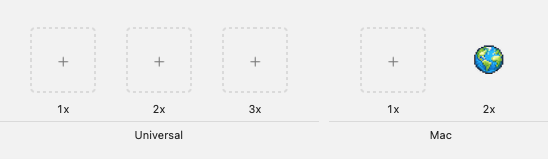
Image in Menu
For reasons I don’t know, for macOS, I had to put the “globe” icon for the market picker in a macOS 2x asset. Only that way I could resize the icon. Every other way always resulted in a too big icon.
Menu {
    if activeMarkets.isEmpty {
	Text("No active markets")
    } else {
    // create the buttons
    }
} label: {
    HStack(spacing: 10) {
	Image("Globe")
	    .resizable()
	    .scaledToFit()
	Text(currentLabel)
	    .foregroundStyle(.primary)
    }
}